FMP
What to Do First After Creating a Financial Modeling Prep Account
Jan 26, 2026
The moment immediately following registration is often the most fragile point in a developer's interaction with a new data provider. You have successfully navigated the signup form, verified your email, and now sit before a silent dashboard. The instinct driven by excitement or project deadlines is to immediately open an IDE, import a library, and attempt a complex query.
This is a common misstep. If this instinct feels familiar, that's normal. Most experienced developers and analysts make this exact move the first time they touch a new data platform. The goal of the first session is not productivity. It is confidence that the system behaves the way you expect.
In my experience integrating financial data feeds, the "breakage" usually doesn't happen because the data is bad or the Python library is incompatible. It happens because the user attempts execution before orientation. They try to build a discounted cash flow model before they understand how the API authentication header behaves, leading to avoidable 401 errors and frustration.
Understanding the Platform Before Running Analysis
The first ten minutes in the Financial Modeling Prep (FMP) environment should not be spent coding. They should be spent on establishing situational awareness. You need to map the terrain: locate your credentials, distinguish the technical documentation from the marketing storefront, and verify your connectivity in isolation.
This guide outlines the immediate, high-leverage actions to take during your first session. This is not about selecting datasets; it is about calibrating your environment so that when you do decide to build, the infrastructure is invisible.
Step 1: Locating "Home Base" (The Dashboard)
For an analyst, the Dashboard is not just a landing page; it is the single source of truth for your account's state. Marketing pages describe theoretical capabilities; the Dashboard describes your actual permissions.
You are not expected to configure anything at this stage. The goal is simply to recognize where account-level information lives so it feels familiar later.
The API Key as Identity
Your primary objective upon first login is to secure your API Key. You do not need to use this key immediately. Simply knowing where it lives and what role it plays is enough for your first session.
In the FMP architecture, this key functions less like a password and more like a passport. It is the immutable identifier attached to every request you send.
Unlike session-based tokens that expire or require frequent handshakes, your FMP key is persistent. This design choice simplifies integration. You don't need to write complex token-refresh logic for a simple price check but it shifts the security burden to you.
You will find this key displayed prominently in the main panel of the Dashboard. It is deliberately surfaced at the top level to prevent the friction of digging through "Settings" or "Profile" sub-menus.
Securing the Credential
Treat this string as you would a private SSH key. A common mistake I see among junior analysts is hard-coding this key directly into scripts that get pushed to public GitHub repositories.
Immediate Action: Copy the key and store it in a local .env file or your system's environment variables. Do not leave it sitting in a browser tab or a sticky note. Your first interaction with the platform should be securing this asset.
Step 2: Separating the "Storefront" from the "Library"
One of the most significant sources of friction for new users is the visual and structural difference between the main Website and the Developer Documentation. This distinction is intentional, but it can be disorienting if you don't have the correct mental model.
The Mental Model: Context vs. Execution
The pages you navigated before signing up—the ones detailing "comprehensive coverage" and "institutional grade data"—serve a vital role. They are designed to explain what the platform offers and why it matters, while implementation details live in the documentation and dashboard.
To start building, you must physically switch contexts to the "Developer Docs" (The Library). The URL structure changes, and the layout shifts from narrative descriptions to technical specifications.
Navigating the Technical Spec
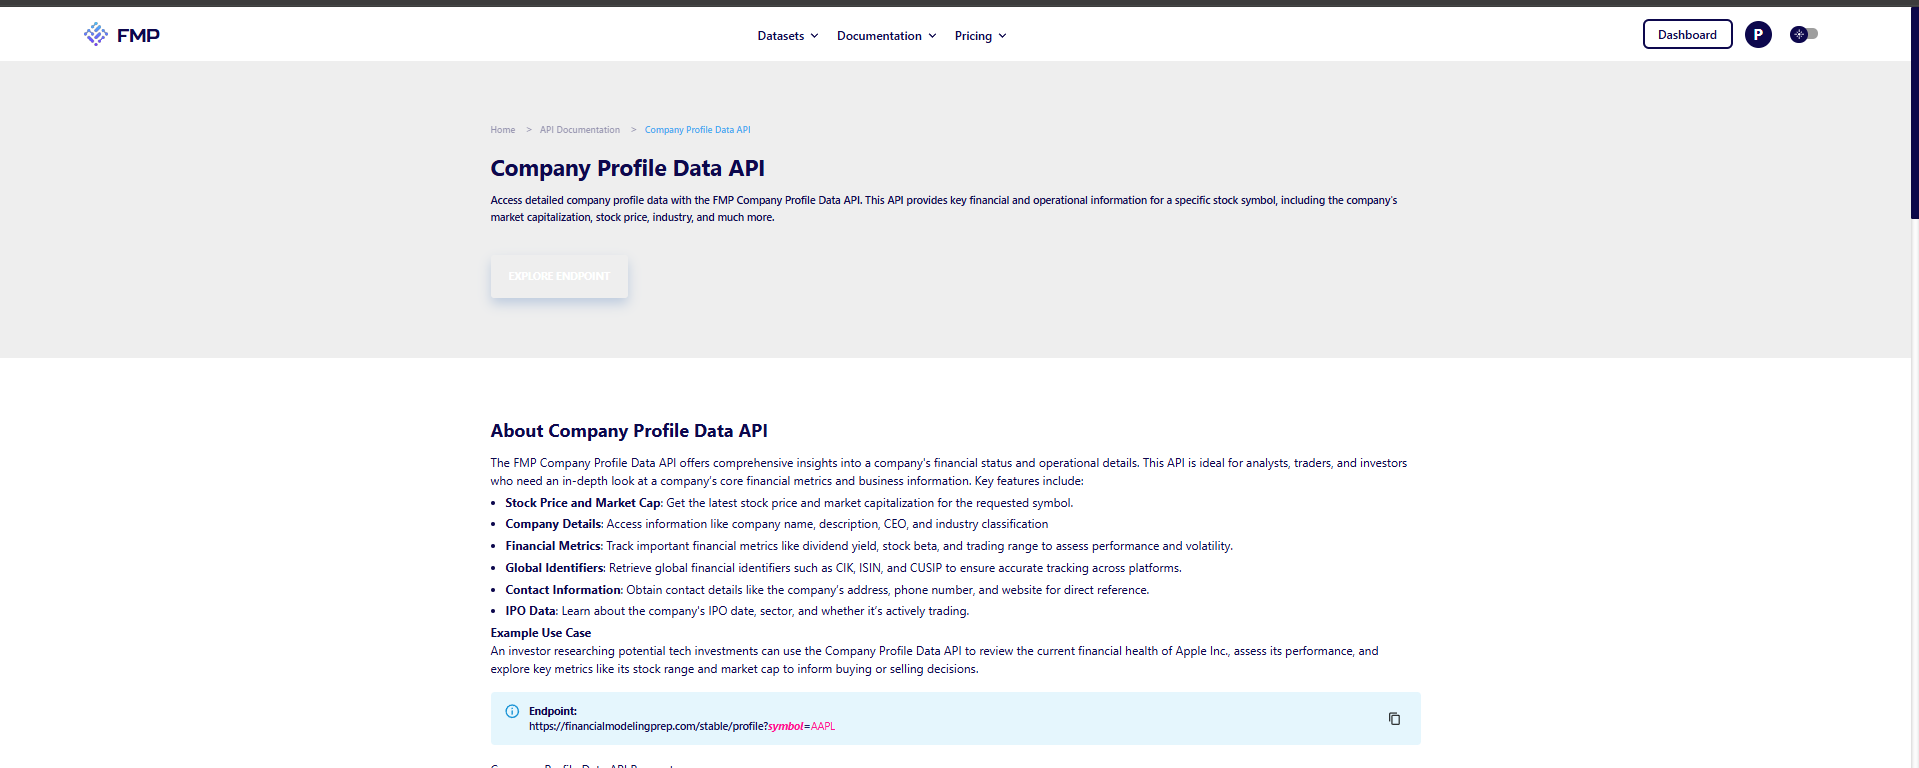
When you land on a technical page, such as the documentation for the Company Profile, notice the shift in information density.
You are no longer looking for high-level summaries. You are looking for three specific technical constraints:
- The Endpoint: The specific URL path (e.g., /api/v3/profile/).
- The Parameters: The mandatory and optional arguments (e.g., symbol, apikey).
- The Response Object: The JSON schema that defines what you get back.
The website provides orientation and context, while the documentation functions as the technical blueprint for implementation. Recognizing this division early saves time: go to the main site to understand what is available, but go to the docs to understand how to call it.
At this point, the goal is still not to build anything meaningful. It is to remove uncertainty. Think of this as confirming that the lights turn on before you rearrange the room.
Step 3: The "Browser-First" Approach
Sophisticated developers rarely start by writing code. They start by isolating variables. If you write a Python script to fetch data and it fails, you have introduced multiple points of failure: your internet connection, your Python environment, the requests library, your syntax, and the API itself.
To eliminate these variables, adopt a "Browser-First" approach for your very first call.
The URL Concept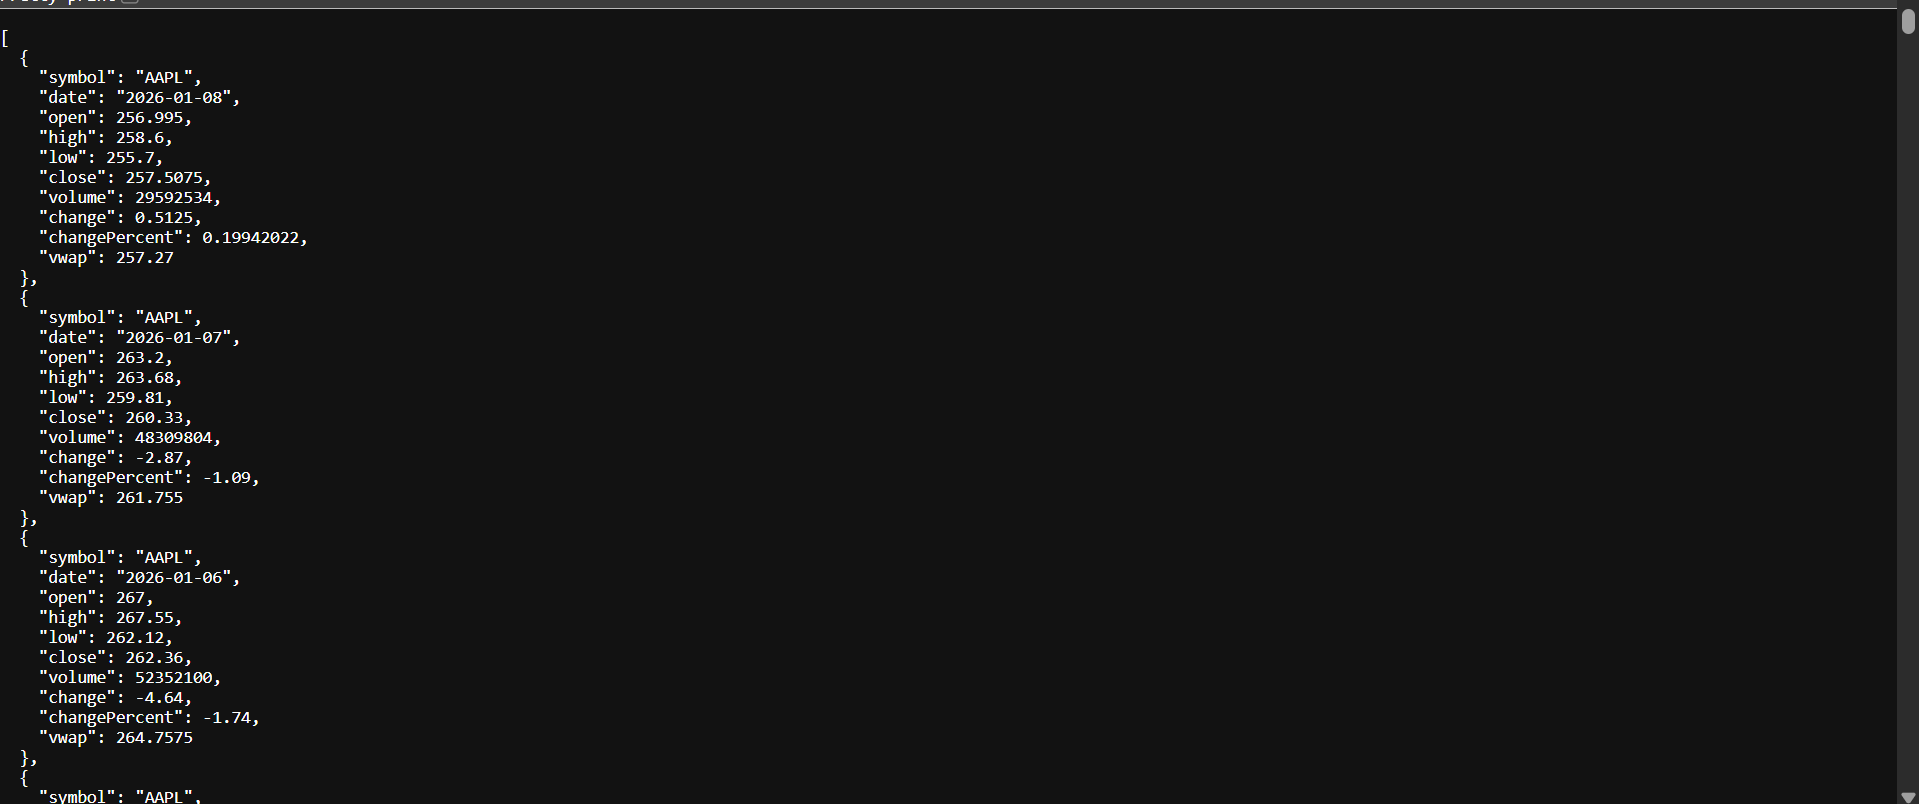
FMP is a RESTful API. This means it speaks the language of the web (HTTP). It does not require a proprietary terminal or a specialized SDK to function. A web browser is, effectively, a highly sophisticated GET request client.
By constructing a URL manually and pasting it into Chrome or Edge, you strip away the complexity of your local development environment. You are testing the raw pipe between your machine and the FMP server.
Visualizing the Output
Take the standard endpoint for Historical Price. Construct the URL by appending your API key:
https://financialmodelingprep.com/api/v3/historical-price-full/AAPL?apikey=YOUR_KEY
Paste this into your address bar.
What you see next is critical. You should see a raw JSON response rendered in the window. It will likely look like a wall of text or, if you have a JSON formatter extension, a structured tree of dates and prices.
Why this validates the system:
- Authentication: It proves your key is active.
- Routing: It proves the endpoint exists.
- Format: It proves the data returns as JSON, not CSV or XML, setting the stage for how you will parse it later.
If this works, you have technically integrated the API. More importantly, you now know that the system responds predictably. That certainty is what makes every future step easier. Everything that follows Python, Excel, R is just a wrapper around this basic success.
Step 4: Understanding Usage Feedback
Orientation is not complete until you have established a feedback loop. You need to know that the system is "listening" to you.
The Usage Log
After you have successfully loaded the URL in your browser, return to your Dashboard. Navigate to the analytics or usage section. You should see your total request count increment by at least one.
This usage log is your primary debugging tool. In my workflows, when a script appears to hang or return nothing, the first place I look is not my console logs, but the FMP Dashboard.
- Scenario A: My script fails, but the Dashboard shows usage increasing.
- Diagnosis: The API is working, but my script is mishandling the returned data.
- Scenario B: My script fails, and the Dashboard shows zero usage.
- Diagnosis: The request never left my machine (firewall, DNS, or malformed URL).
Establishing this baseline behavior now when you know the system is working gives you a control group for future troubleshooting.
Common Orientation Mistakes
Even experienced engineers trip over small navigational hazards when entering a new ecosystem. Avoiding these three specific pitfalls will save you significant time during your first session.
Mistake 1: Looking for a "Download" Button
New users often approach an API like a file repository. They look for a button to "Download All Tickers."
FMP is designed for programmatic, on-demand access. While some bulk endpoints exist, the core philosophy is granular retrieval. You do not download the database; you query it. If you spend fifteen minutes looking for a CSV export button for the entire NYSE, you are fighting the platform's architecture. Stop looking for files and start building URLs.
Mistake 2: Confusing "Free" with "Broken"
In the early stages, you might test a niche endpoint perhaps a specific technical indicator or a small-cap stock and receive an empty list [] as a response.
A common reaction is to assume the API key is broken or the account is locked. In 99% of cases, an empty list simply means "No Data Found" for that specific query. The pipe is working (status 200 OK), but the bucket is empty. Verify this by testing a "blue chip" query (like AAPL price) immediately after. If AAPL returns data, your account is fine; your query target was just empty.
Mistake 3: Over-Authentication
Many enterprise APIs require complex headers, OAuth tokens, and handshake protocols. FMP uses a simplified query-parameter authentication method (?apikey=xyz).
I have seen developers waste hours trying to configure Authorization: Bearer headers in Postman, getting repeated 401 errors. Do not over-engineer the handshake. For your orientation phase, simply appending the key to the URL string is sufficient, secure, and significantly faster to test.
From Orientation to Execution
You have now successfully oriented yourself within the Financial Modeling Prep environment.
You have secured your "Passport" (API Key). You have mapped the "Library" (Documentation). You have proven connectivity via a "Browser-First" test. And you have confirmed the "Feedback Loop" via the usage logs.
Moving Beyond Connectivity
This state of readiness is invisible but essential. You are no longer guessing if the system works; you are ready to execute. However, having the data is different from knowing exactly how to apply it. You are not expected to act on all of this immediately. Orientation is cumulative. When you return tomorrow or next week to build something specific, these concepts will already feel familiar.
If you are looking for inspiration on what to build next, or want to see how other developers have solved common problems, explore the FMP Education Center. It serves as a library of tutorials and worked examples from building DCF models to tracking insider trading. Treat it as a discovery tool to help you move from "I have data" to "I have a strategy. It's a place to see how others approached similar questions, so you don't have to invent a workflow from scratch.
FAQs
Where do I find my API Key if I lose it?
Your API Key is permanently visible on the main view of your Dashboard. It does not rotate automatically. If you suspect it has been compromised, you can request a reset, but otherwise, it remains your static identifier.
Why does the documentation look different from the homepage?
The homepage is built for discovery (marketing); the documentation is built for implementation (engineering). They serve different phases of the user journey. Always bookmark the documentation separately; you will rarely need to return to the homepage once you are active.
Do I need to install software to view the data?
No. Because FMP returns standard JSON, any web browser can view the raw data. For a better experience, installing a "JSON Formatter" extension for your browser is highly recommended to make the text readable.
How do I know if my API key is active?
The ultimate test is the Usage Log in your Dashboard. If your request count increases after you visit an API URL, your key is active, valid, and communicating with the server.
Is the dashboard real-time?
There is a negligible latency between a request being made and it appearing in your usage stats. For the purposes of orientation and connectivity testing, you can treat it as effectively real-time.

Comparing Companies Fairly Across Different Market Caps
Cross-cap analysis usually fails before any valuation model is applied. The problem starts with the choice of inputs, no...

How to Try Financial Modeling Prep Without Committing to a Plan
Evaluating a new financial data provider usually comes with a hidden tax: the "vendor trap." Professionals often hesitat...